


 English
 한국어
한국어 中文简体
中文简体
How to Sew with Spandex Fabric: Needles, Thread, Stitches & Machine Settings
Spandex fabric fights back when you sew it. The wavy seams, skipped stitches, and curled edges that appear on stretchy knits are not a sign that you are doing something wrong. They are natural clues that your supplies and machine settings need to be adjusted for elastic fabric.
Whether you are making activewear, swimwear, fitted t-shirts, or leggings, spandex demands a specific approach. This guide will walk you through the essentials, from choosing the right needle to troubleshooting the most common problems, so you can get a repeatable process that works on a home machine or a serger.
Why Spandex Is Tricky to Sew
Spandex can stretch to 200-300% of its original length and still recover its shape. This elasticity makes the fabric comfortable to wear but unforgiving at the sewing machine.
The same fiber that gives the garment its stretch also creates challenges. A sharp wedge-point needle can pierce the elastic fibers and leave permanent holes. Even the cut edge behaves differently, curling inward before you have a chance to align your pieces.
Knit construction also means the fabric feeds differently through the machine. The upper layer can move at a different speed than the lower layer, which produces wavy seams if the presser foot pressure is not adjusted properly.
What You Need Before You Start
Having the right tools is the simplest way to avoid most spandex sewing problems. Here is what you should have on hand.
Needles
Use a ballpoint needle, a stretch needle, or a jersey needle. The rounded tip slides between the fibers rather than cutting them. A size 75/11 works for light to medium spandex, while a size 90/14 is better for heavier stretch knits. Always start with a new needle, as a worn needle is the most common cause of skipped stitches.
Thread
Choose a polyester thread or a polyester-wrapped cotton thread. Cotton thread does not have the strength or elasticity needed for seams that must stretch. For dark fabric, use a thread color that matches the garment, but for seam visibility during testing, use a contrasting color.
Presser Foot
A walking foot, also called an even-feed foot, prevents the top layer from slipping. A non-stick presser foot is useful if the fabric feels sticky or tacky. Both options make a visible difference in seam quality on spandex.
Cutting Tools
Use a rotary cutter and a cutting mat for clean, precise edges. Scissors can work, but a rotary cutter reduces the risk of distorting the fabric as you cut. Use ballpoint pins that do not pierce the elastic fibers, or use pattern weights to avoid pins altogether.
Choosing the Right Spandex Fabric
Not all spandex fabric performs the same way. The fiber blend, GSM (grams per square meter), and finish determine how a garment will stretch, recover, and wick moisture.
For sportswear and everyday activewear, a cotton-spandex wicking single jersey gives a soft hand, high stretch recovery, and rapid moisture transport. For higher-intensity training, a moisture-wicking polyester-spandex jersey offers better moisture management and minimal cling, so the fabric pulls sweat away from the body.
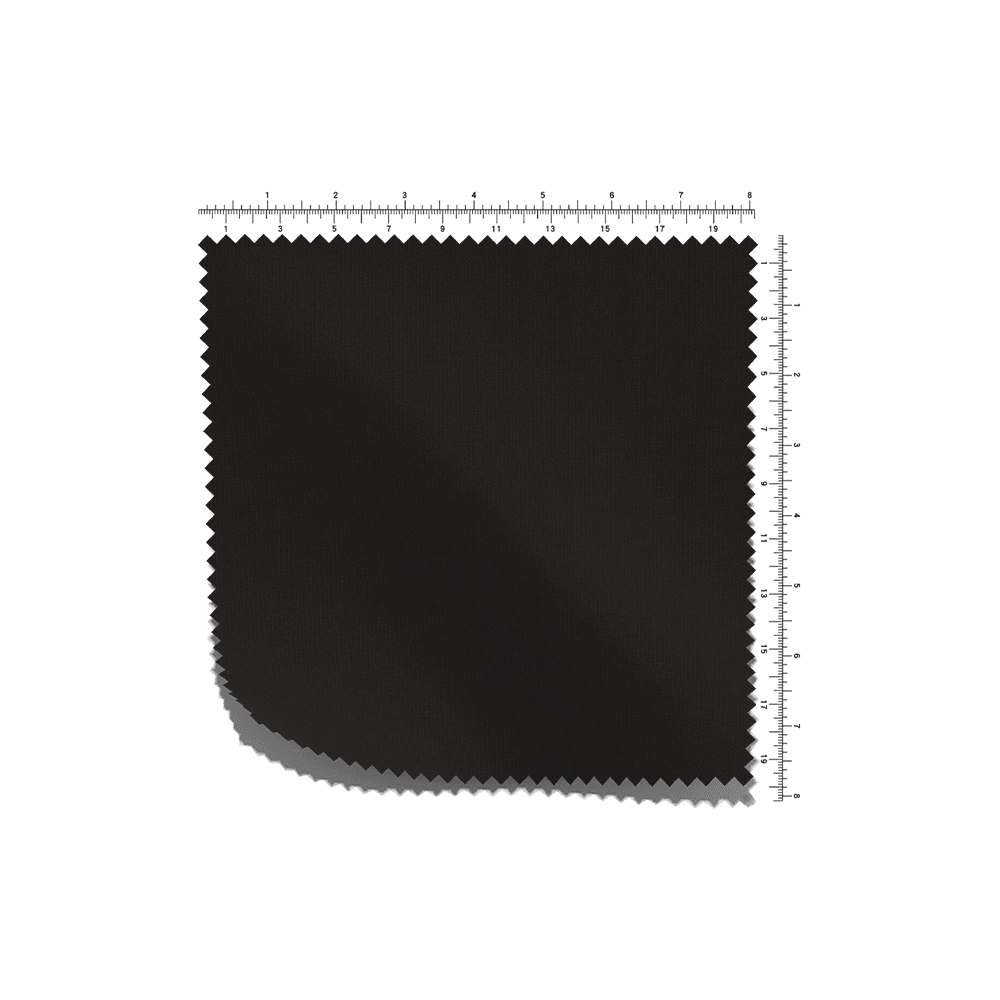 Cotton-Coolmax Quick-Drying Single Jersey for SummerIdeal for high-intensity training, this fabric uses Coolmax yarn to quickly move sweat away, offering cooler and drier comfort compared to standard cotton, making it a strong choice for summer tees.View Product →
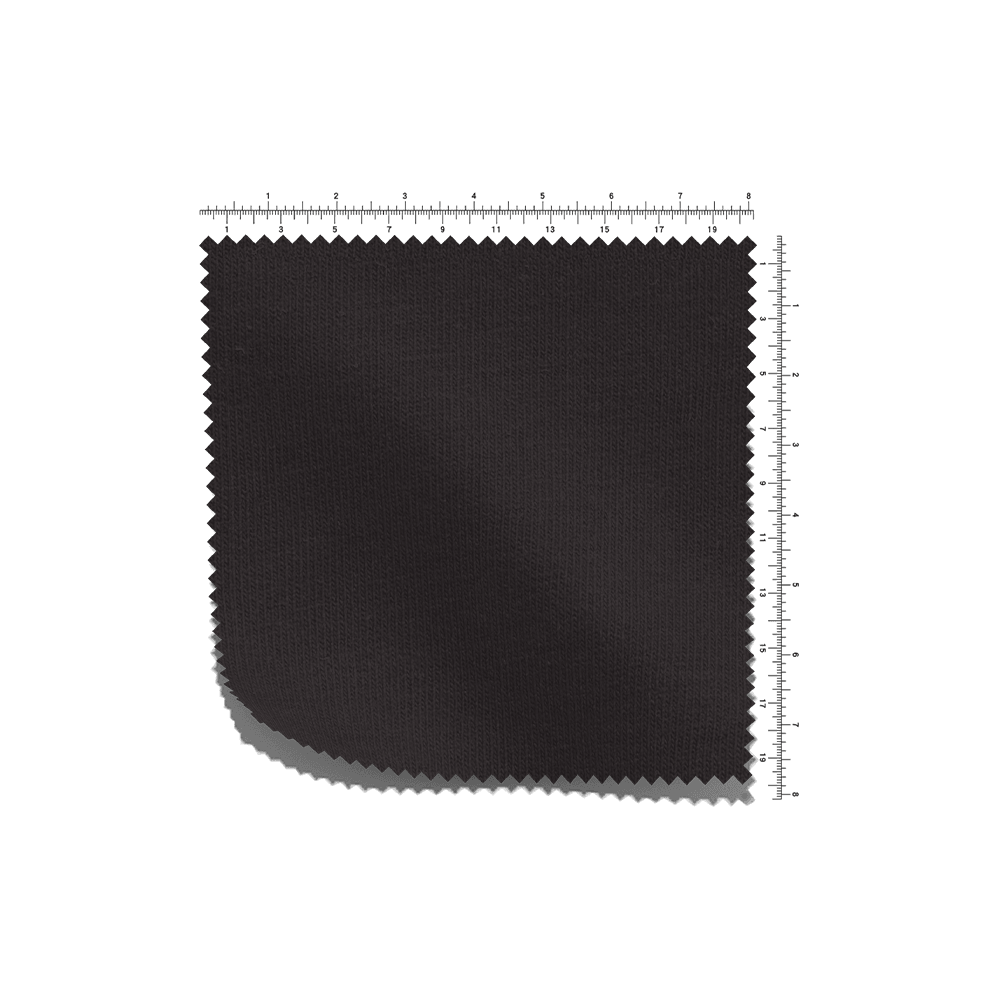 Cotton-Spandex Wicking Single Jersey for ActivewearThis jersey combines cotton softness with spandex stretch and a wicking finish, making it suitable for moisture transport in sportswear and daily wear, while its antibacterial finish adds functionality.View Product →
Check the composition before you commit. Knit fabrics with 10-15% spandex are common for fitted athletic wear, while 2-5% spandex is enough for casual tops or dresses. Higher spandex content means more stretch, but it also requires a more careful sewing approach.
Cutting and Preparing Spandex
Pre-wash the fabric before cutting to remove manufacturing residues and to allow the spandex to relax or shrink. Dry it the same way you plan to care for the finished garment. Then lay the fabric flat on a clean surface and let it rest for a few minutes.
Never pull the fabric tight while measuring or cutting. Use pattern weights to hold the pieces in place, and place pins only inside the seam allowance. Mark lines with chalk or a washable marker rather than a ballpoint pen, which can leave marks that resist washing.
If an edge will not lie flat, a light spray of starch on the wrong side can keep the curl under control. When cutting a single jersey that curls aggressively, layer the fabric between two pieces of paper and cut through the stack.
Machine Settings for Sewing Spandex
Your machine settings matter more on stretch knits than on any other fabric type. Small adjustments to stitch type, tension, and presser foot pressure can be the difference between a clean seam and a ruined garment.
Stitch Type and Length
Set the machine to a zigzag stitch with a width of 2-3mm and a length of 2.5-3mm. This stitch stretches with the fabric and prevents popped seams. A stretch stitch, sometimes called a lightning stitch, provides greater elasticity and is ideal for swimwear and performance activewear.
Needle Plate
Use the standard needle plate, not the single-hole plate. The wider opening allows the fabric to feed naturally and reduces skipped stitches that happen when the needle pulls the fabric into a small hole.
Tension
Reduce the tension by 1-2 settings from your normal setting for woven cotton. If you see puckering after a test seam, lower the tension further. The right setting looks flat when the seam is relaxed, not when the fabric is stretched.
How to Sew Spandex Step by Step
Follow these steps for a smooth, professional seam on stretch fabric.
- Insert a new ballpoint or stretch needle into the machine.
- Set the stitch to a narrow zigzag width of 2mm and a length of 3mm.
- Lower the presser foot pressure to reduce drag on the fabric.
- Place the fabric under the foot, position the needle at the seam line, and lower the needle into the fabric.
- Backtack a few stitches at the start to lock the seam.
- Guide the fabric with your hands only. Do not pull or push it through the machine.
- At the end of the seam, backtack again to prevent thread unraveling.
If you are using a serger, a 3-4 thread overlock provides the highest stretch and the most secure finish. Set the differential feed to 1.0 or slightly higher to avoid wavy edges. If you also work with other stretchy knits, our guide to sewing with fleece fabric explains similar needle and machine settings for a warm, textured knit.
For hems on spandex, use a double needle. The two needles create two parallel lines of stitching on the top side and a zigzag pattern on the underside, which allows the hem to stretch without popping.
Troubleshooting Common Spandex Sewing Problems
Most spandex sewing issues come from one or two root causes. This table helps you diagnose what is wrong and fix it quickly.
| Problem | Likely Cause | Solution |
|---|---|---|
| Puckered seams | Thread tension too high | Reduce tension by 1-2 settings and test again |
| Skipped stitches | Worn or wrong needle | Insert a new ballpoint needle, size 75/11 or 90/14 |
| Curled edges | Knit edge on single jersey | Spray starch or use a paper stabilizer under the cutting edge |
| Wavy seams | Pulling or pushing the fabric | Let the feed dogs move the fabric naturally |
| Popped stitches | Straight stitch with no elasticity | Switch to a zigzag or stretch stitch |
Frequently Asked Questions
Q1: Can I sew spandex with a regular sewing machine?
Yes. A regular sewing machine is capable of sewing spandex if you use a ballpoint needle, a zigzag or stretch stitch, and reduce the tension. A walking foot makes the fabric feed more evenly and is recommended for seams longer than 10 cm.
Q2: What needle should I use for spandex?
Use a ballpoint needle or a stretch needle. A size 75/11 is ideal for light to medium knits, and a size 90/14 is better for heavier stretch fabric. Always start with a new needle for the best results.
Q3: What stitch is best for spandex?
A zigzag stitch is the most reliable choice for most spandex projects. For a covered hem, use a double needle or a stretch stitch. A serger with a 3-4 thread overlock produces the most professional seam.
Q4: Do I need a serger for sewing spandex?
No, a serger is not required. A standard machine with the right needle and stitch set-up can handle most spandex projects. However, a serger makes seam construction faster and creates a stronger, professional stretch finish.
Q5: Why do my spandex seams pucker?
Puckering is usually caused by excessive tension, a worn needle, or pulling the fabric while stitching. Lower the tension, insert a fresh ballpoint needle, and let the feed dogs do the work. If the problem persists, use a walking foot.
Learning how to sew spandex is a skill that improves quickly once you understand which variables to control. Use a stretchable stitch, keep a new ballpoint needle in the machine, and always test on a scrap before you begin. With small adjustments to tension and presser foot pressure, you can handle spandex on any sewing machine and finish stretch garments that look professional and last through everyday wear.

Don't hesitate to contact when you need us!

Step Ahead.
Nearly 30 years of experience in the textile industry is a valuable advantage of Golden Morning. Welcome to communicate with our team!
Become a Client
 +86-512-52528088
 +86-512-14546515
-
 [email protected]
[email protected]
[email protected] -

Company Address:
NO.218 QingDunTang Road changshu CityJiangsu Province(215500), ChinaFactory Address:
NO.19 Fuchunjiang East Road Southeast Economic Development Zone Changshu Jiangsu, China
